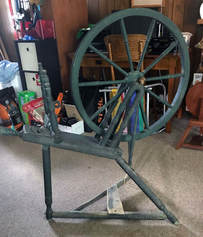
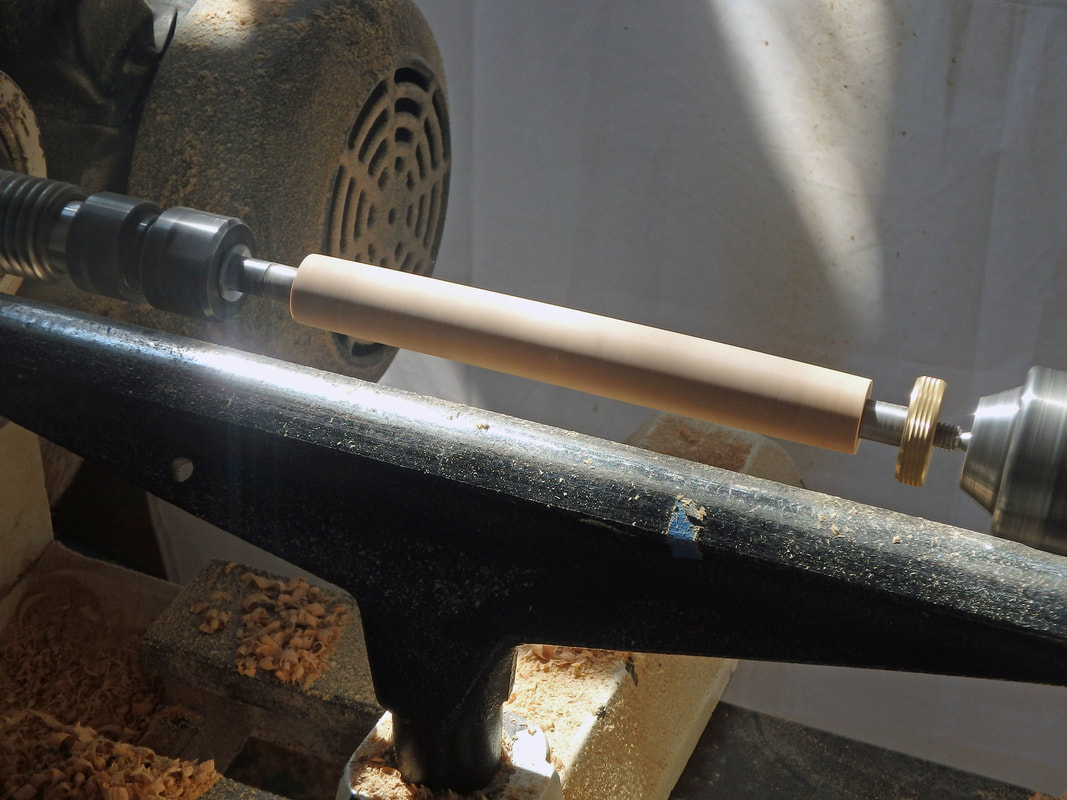
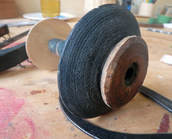
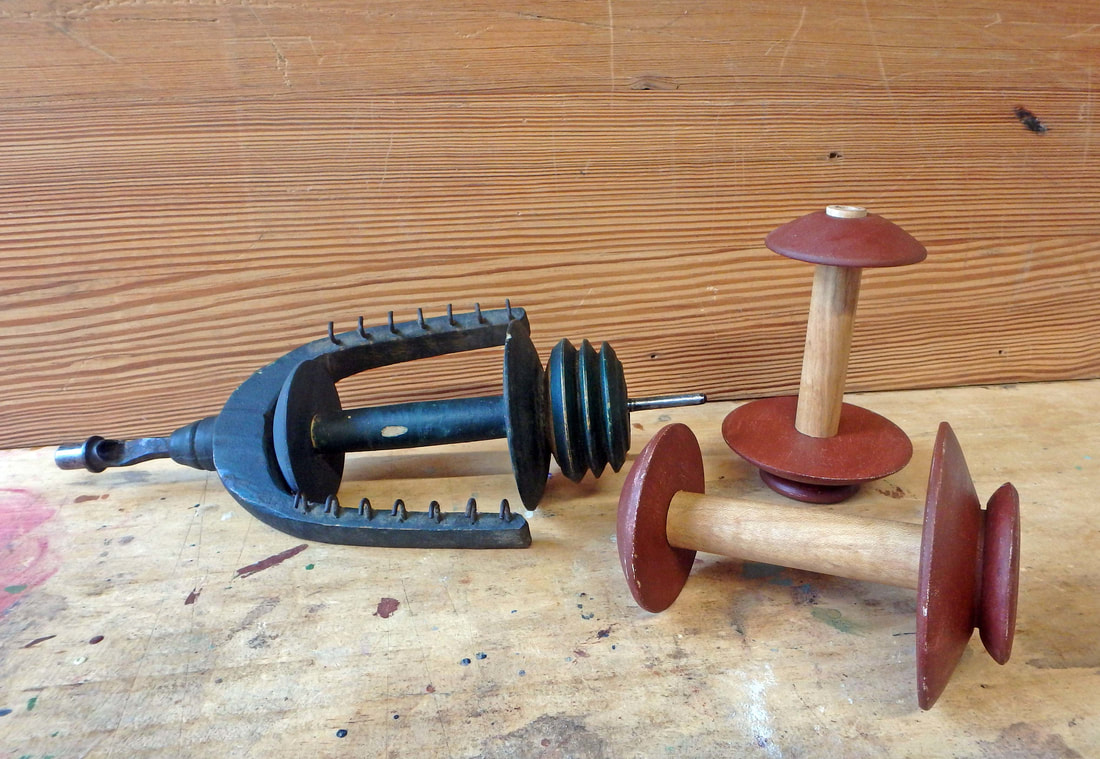
 These last couple months have been jam-packed with teaching, assisting, art festivals and demonstrating. It’s the height of summer and though the days are still long, the liveliness of the North Shore is keeping them full and leaving me with little time in the studio. I was able to steal away one afternoon last week, however, to help ensure that one of North House’s spinning wheels will survive many more revolutions around the sun. The short backstory is that an antique Finnish spinning wheel was donated to North House but was in need of some loving care to get it back in working condition. It is believed to be from the late 19th century and has “P I S” stamped on the end of the bench, which could be the maker. One of North House’s fibers instructors graciously took on the task of cleaning and adjusting the wheel so it would spin smoothly once more. The bobbin that came with the wheel was missing one end, and it would be useful to have a couple of extras, which is where I entered the scene. I was sent the partial bobbin, the flyer (the piece the bobbin fits onto), and the whorl, along with a request to repair the existing bobbin and make a couple of replicas to go along with the wheel. I was excited to take on this project since it required the skills of repairing, joinery and replicating. I thought it would be a fun challenge. My first order of business was to turn a new end for the original bobbin and to get that in working order so I then had something to replicate. In looking at the bobbin alongside an experienced spinner (of which I am not), we deduced that what was left of the original paint indicated that the tenon of the bobbin shaft likely protruded past the bobbin end which would help keep the bobbin from rubbing against the flyer. We chatted a bit more about design and then I headed to the studio to turn something I hoped would work. The original bobbin was very light and likely made out of pine, so I grabbed a piece from my firewood pile and mounted it on the lathe. It was pretty straight-forward, turning a disk and fitting it to the original bobbin shaft, and a test run indicated that though the flyer is far from symmetrical, it should work just fine. Now on to creating a couple more. 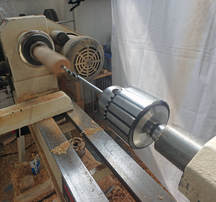 I had some long pieces of maple around the shop and decided on using those for the shaft of the bobbin and birch for the ends. Since the bobbin is longer than a standard drill bit, I dug out a long ¼” bit that I had from making lamps a while ago, mounted that in the drill chuck on my lathe and bored out the original hole. I would later need to widen the hole to fit the flyer, but with the original hole going all the way through, it was easy enough to drill from each end of the shaft with a larger bit to widen it. I then cut the shaft to length and mounted it on a mandrel to turn it down to the appropriate diameter and create the tenons on each end. The next order of business was to replicate the two bobbin ends. The end that I had already created was easy enough to replicate, but the other end had a notch for the drive band and took a few more measurements and a bit more thought. My calipers were too wide to accurately measure into the notch on the original bobbin, and with all the paint and years of gunky buildup, it was difficult to get an accurate measurement. One interesting side note: when looking at the original bobbin it is obvious that the part that rides along the whorl has been carved away a bit. I’m curious about whether this part was already a repair on the bobbin, especially since it is not painted in the same way as the other parts that I was sent. These quirks definitely made it a bit more difficult for me to be sure I was making an exact replica! After test fitting all the parts and mounting them on the flyer to ensure they would spin smoothly, I painted and glued up the whole assembly. I was specifically asked not to match the paint so it would be obvious which bobbins were the replicas and which was the original. I did want to maintain a somewhat similar aesthetic with the new bobbins, however, so I painted and distressed a couple layers of milk paint on the bobbin ends while leaving the maple shaft exposed. I’m looking forward to hearing how everything works and hope that I’ll have a chance to see the wheel in action around North House!
0 Comments
|
Marybeth GarmoeCraftsperson Archives
August 2019
Categories |
 RSS Feed
